
AI Assistants Overview
Custom Mid-Call Tools
Learn how to create and configure custom API integrations that your AI assistant can use during calls.
Custom Mid-Call Tools let your AI assistant interact with external systems during calls. Whether checking inventory, verifying customer data, or fetching real-time information, these tools make your AI more powerful and connected.Overview
Custom Mid-Call Tools enable your AI assistant to:
- Make real-time API calls during conversations
- Fetch or submit data to your systems
- Make informed decisions based on live data
- Provide accurate, up-to-date information to callers
- No coding required – just configure the API endpoint and parameters - AI automatically knows when and how to use the tools - Real-time data access during calls - Seamless integration with your existing systems
Setting Up Your Tool
1. Basic Configuration
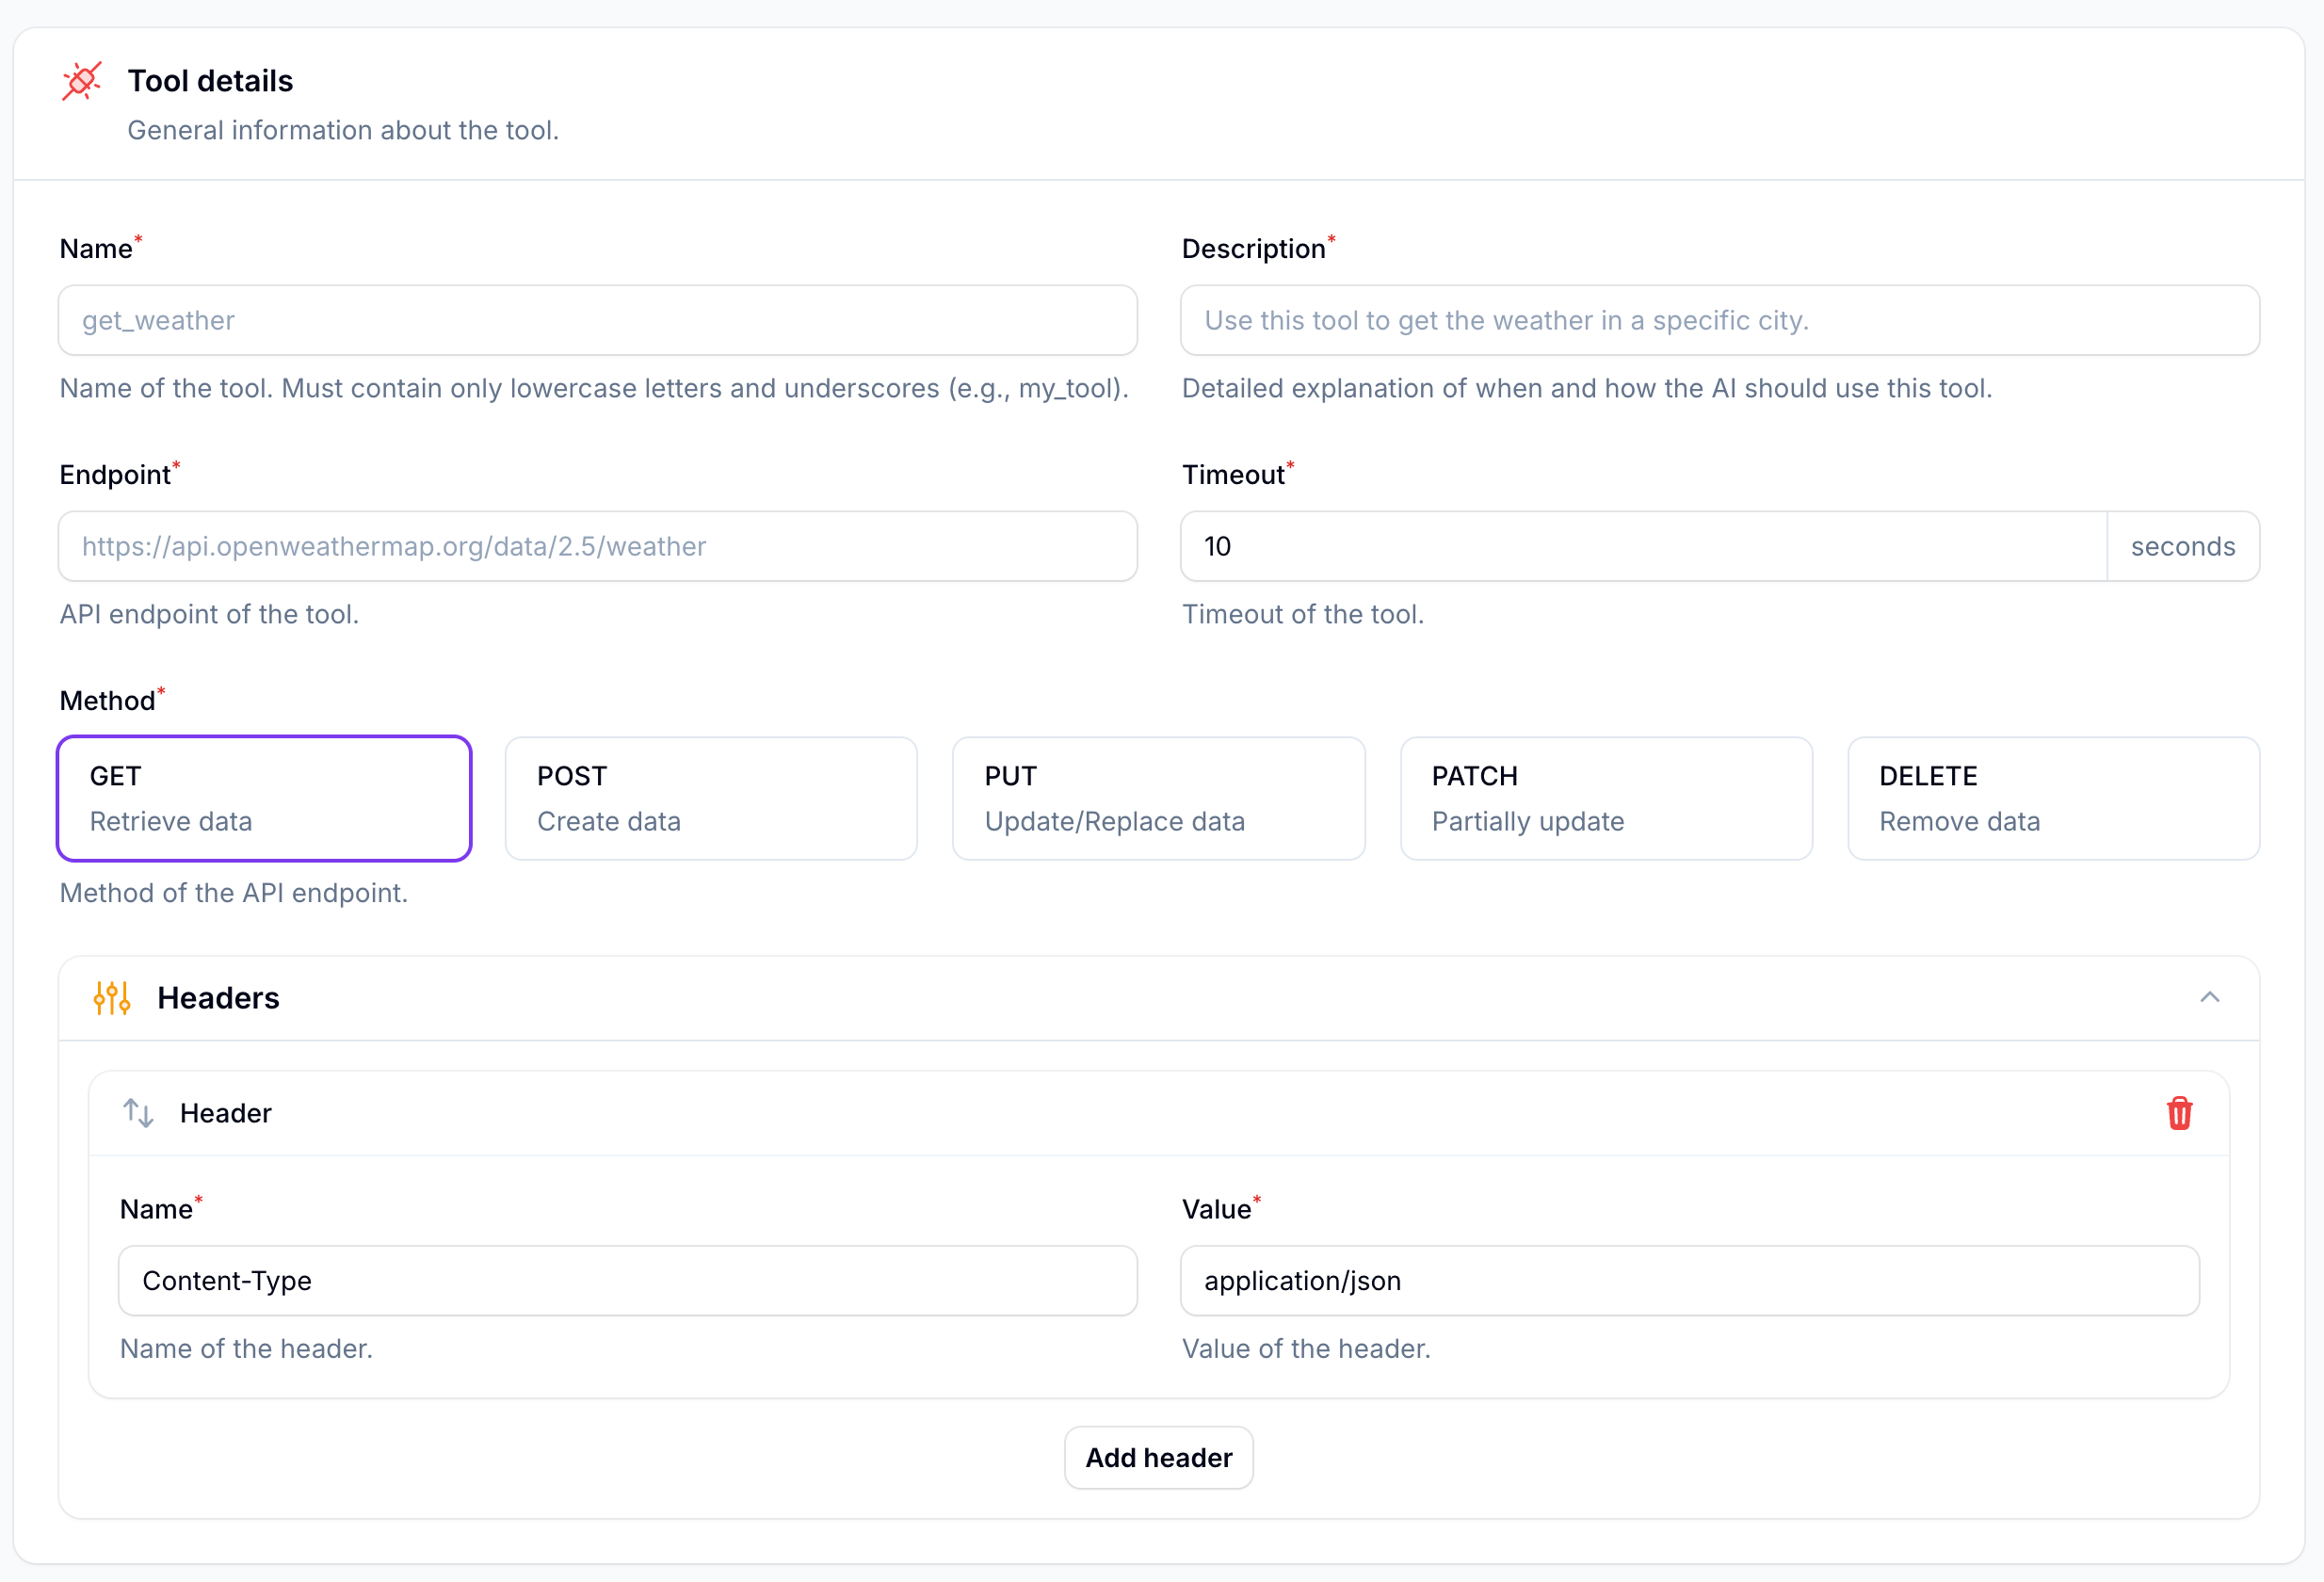
Access Tool Creation
Navigate to Mid-Call Tools and click Create Mid-Call Tool
Configure Main Settings
Fill in the essential details:
-
Name:
Use lowercase and underscores (e.g.,
check_order_status) - Description: Explain when and how the AI should use this tool
-
Endpoint:
Your API URL (e.g.,
https://api.yourcompany.com/orders) - Timeout: How long to wait for responses (in seconds)
- Method: Choose GET, POST, PUT, PATCH, or DELETE
Add Headers
Common headers you might need:
								Content-Type:
								application/json
								Authorization:
								Bearer your_token
2. Variable Configuration
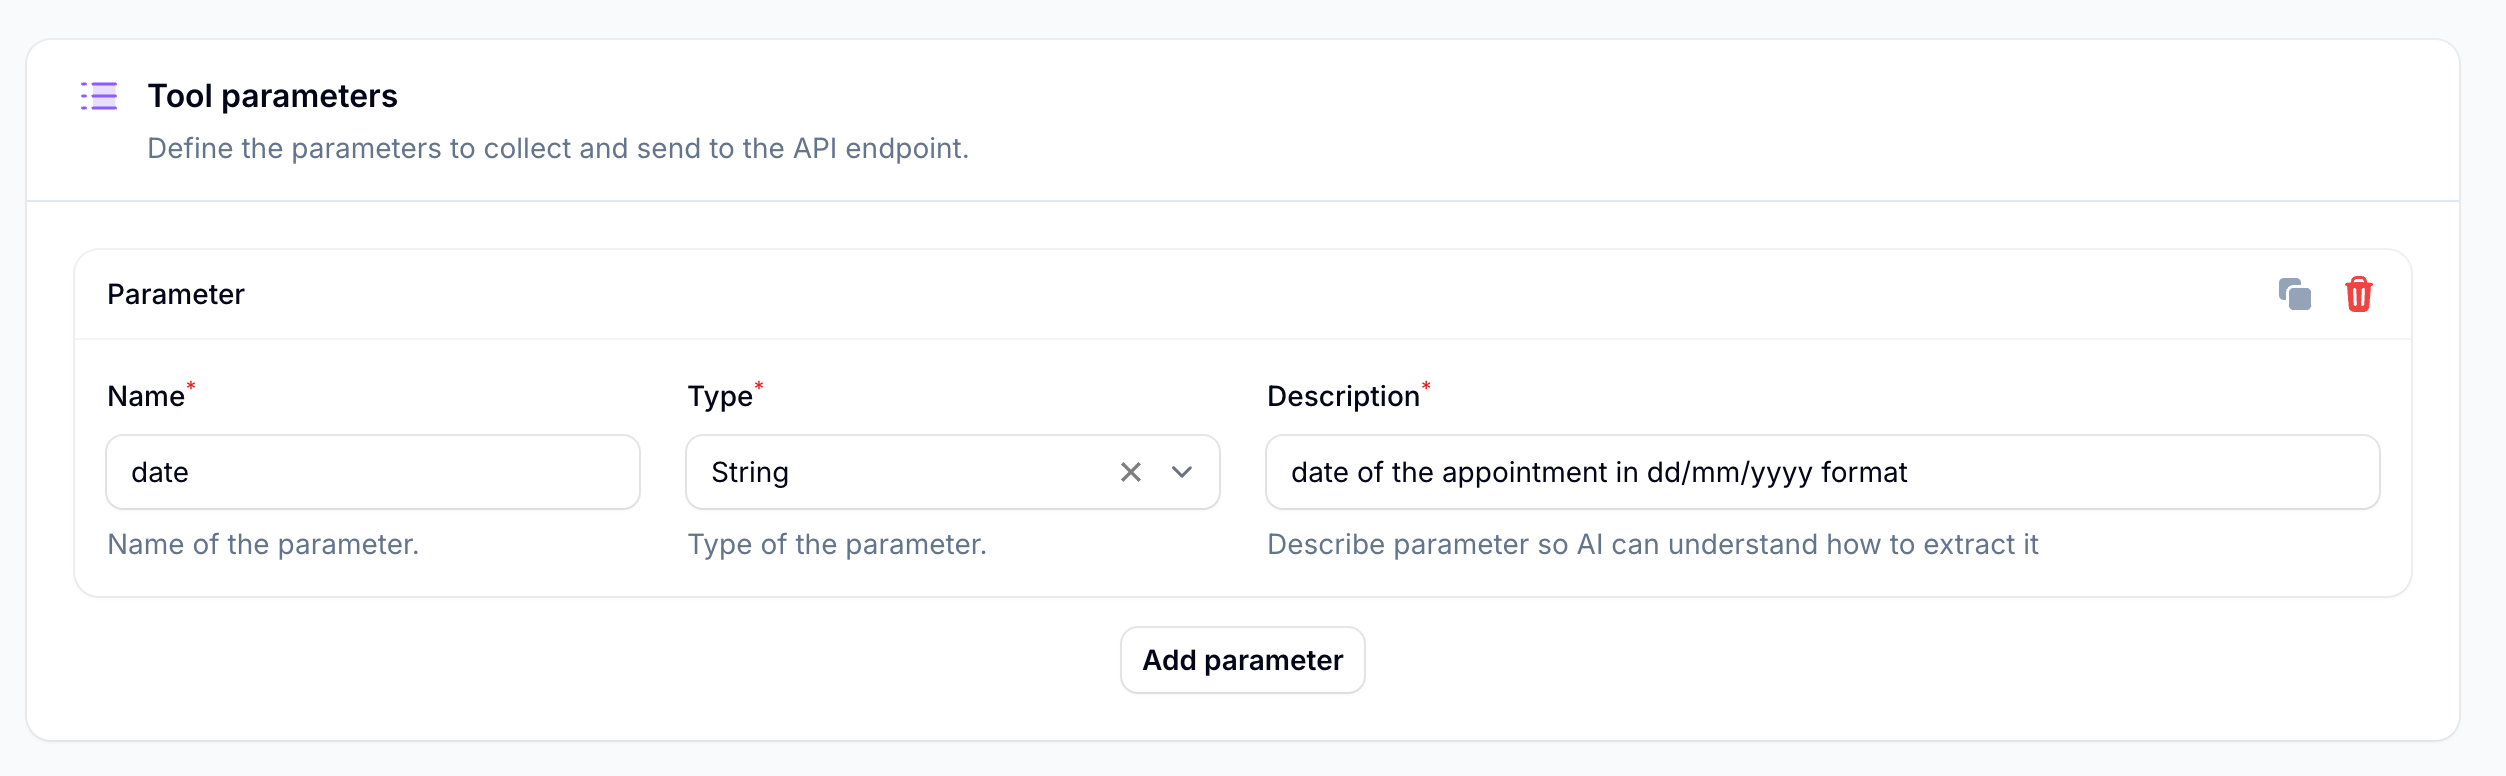
Define Parameters
These are the pieces of information your AI will collect during the call:
								Name:
								order_number
								Type:
								string
								Description:
								"10-digit order number from the customer"
Set Validation Rules
Add format requirements in the description:
								"Date in dd/mm/yyyy format"

								"Phone number without spaces"

								"Email address for confirmation"
Understanding Parameter Types
Text values like names, addresses, or reference numbers
Type: string
Examples: "John Doe", "123 Main St"Numeric values like amounts, quantities, or IDs
Type: number
Examples: 42, 99.99Boolean values for yes/no situations
Type: true_false
Examples: true, falseAdd format instructions in descriptions
"Date in dd/mm/yyyy"
"Phone without spaces"Dynamic Endpoints
When using variables in your endpoint URL, make sure to enclose them in curly braces and use the exact parameter name.You can make your endpoints dynamic using variables:
Basic URL:
https://api.example.com/orders/status

With Variables:
https://api.example.com/orders/{order_id}/statusThe AI will automatically replace
{order_id}
with the actual value collected during the call.
Testing Made Easy
Click “Test Tool” to run a test with dummy data:
- String parameters: “test”
- Number parameters: 1
- Boolean parameters: true
Power User Feature: Automation Platform Integration
Need more complex logic? Connect your tool to the automation platform for advanced workflows.Here’s how to create powerful integrations:
-
In the automation platform
- Create a new flow
- Add a webhook trigger
- Build your logic (API calls, data transformation, etc.)
- End with "Return Response"
-
In your custom tool:
- Use the webhook URL as your endpoint
- Add
/syncat the end - Example:
https://call.otonistark.com.br/webhook/abc123/sync
This lets you:
- Transform data before/after API calls
- Make multiple API calls in sequence
- Apply complex business logic
- Handle errors gracefully
Real-World Examples
- Order Lookup System
- Appointment Availability
- Customer Verification
Configuring Your AI
The AI needs clear instructions in its system prompt to effectively use your custom tools.Example prompt section:
When to use check_order tool:
1. Customer asks about order status
2. Mentions tracking or delivery
3. Wants to know where their package is

How to use it:
1. Ask for order number if not provided
2. Verify format (ORD-XXXXX)
3. Use tool to fetch status
4. Explain results in simple terms